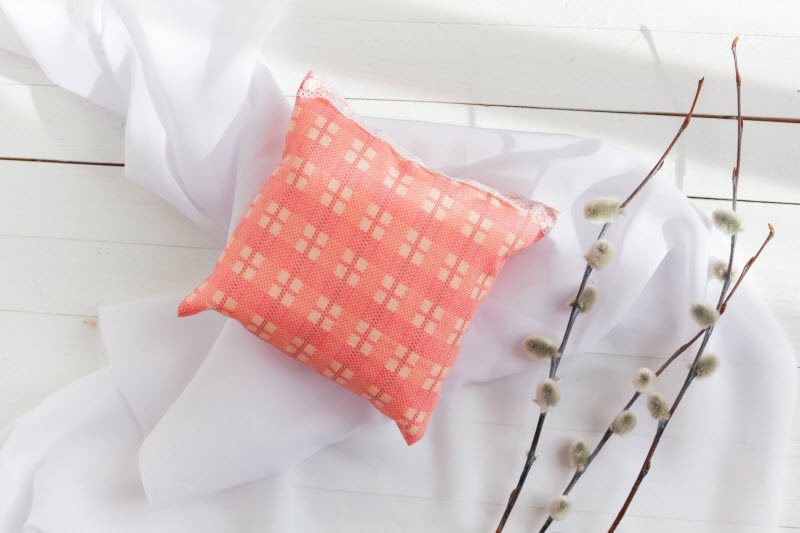
So, you stubbed your toe again. Or maybe you twisted a little too far into that new yoga pose and now your lower back is achy. Or you’re dealing with those once-monthly killer cramps. No matter what the ache or pain, you probably reach for a heating pad or ice pack when something hurts. How great would it be if you had a stash of handy pain relievers on hand – no wet, drippy plastic baggies or electric cords to deal with?
This simple DIY can be used as a hot or cold pack, and they’re easy and inexpensive to make, so you can create several to keep on hand for emergency use.
What’s best for relief – heat or cold?
Knowing whether to use heat or ice after an injury can be confusing. In most cases, you can use whichever makes you feel better. Generally speaking, cold is better if swelling or bruising is present, as it will help with inflammation. Heat, on the other hand, is better if you have muscle tension or cramping because it promotes relaxation. The only time you will to avoid heat is if there is significant swelling and redness, which as signs of acute inflammation (heat will exacerbate this).
Lucky for you, these DIY pads can be made into a hot or cold pack at any time, so no need to stress! Requiring only some fabric and rice (yes, rice!), this project can be as crafty or as simple as you’d like. You can easily customize using fun fabrics and trim.
How to make a heating pad or cold pack
If sewing isn’t your thing, simply use a long sock or leg warmer and follow the no-sew directions below.
When choosing fabric, your best bet is 100% cotton as it’s a good temperature conductor, easily washable and microwave safe. Essential oils can be included for a little aromatherapy and some added healing power! Both lavender and eucalyptus are known for reducing pain and inflammation, while cypress may help with muscle relaxation.
Homemade Heating Pad / Ice Pack Directions
What you’ll need:
Fabric, 9”x9” square
Rice (preferably jasmine)
Funnel
Sewing machine or needle and thread
Optional: essential oils (such as lavender eucalyptus or cypress)
What to do:
1. Fold fabric in half with wrong side facing outward. Sew along all three open edges, leaving a ½ inch space from the fold in order to flip the fabric and add the rice. (Tip: If you think your hot/cold pack will be used often, you may want to add a reinforcing stitch to the seam. A zig-zag stitch works great for this.)
2. Turn fabric right side out. Place the funnel (a rolled up paper plate works well!) into the opening and pour in the rice. Fill the pouch about ¾ full. (Note: You want it to be full but not too full that it won’t be able to mold to your body.)
3. Fold in the ½ inch opening and pin shut. Stitch opening closed (again, you may also add an additional stitch along that whole side for extra reinforcement.
To heat: Place in microwave for ~30 seconds at a time until very warm, then place over your sore muscles.
To cool: Place in freezer until cold.
No-Sew Heating Pad / Cold Pack
What you’ll need:
Long cotton sock or legwarmer
1-2 lbs. rice (preferably jasmine)
Funnel
Rubber band or twine
Optional: essential oils of choice
What to do:
1. Using funnel, pour rice into sock until about ¾ full. If using a legwarmer, make sure to securely tie off one end before filling with rice.
2. Use rubber band, twine or a simple knot to tie off sock or legwarmer. If using twine make sure it is not coated in any material that may melt in the microwave.
3, Follow heating/cooling steps above to use.
Tips:
- If using essential oils, mix a few drops into the rice before pouring into the pad.
- Be cautious when applying the pad directly to your skin and do not use for longer than 15-20 minutes at a time (hot or cold) to avoid burns or frostbite.

