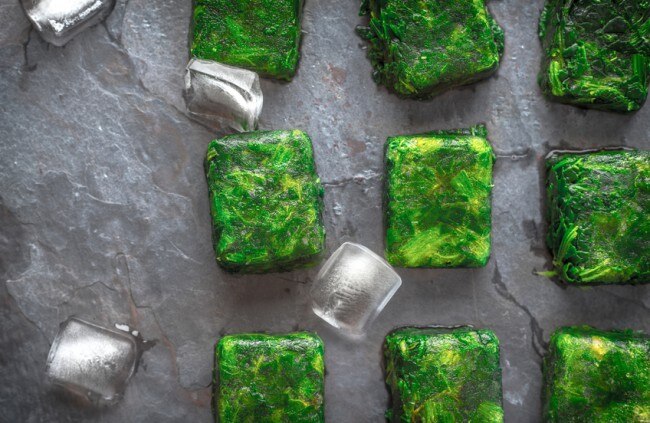
The road to processed food is paved with good intentions. You really do want to make a wholesome, nutritious meal for your family: a whole grain, a fresh vegetable, a nourishing protein. But then soccer practice or dance or meeting runs late and you find yourself scrambling at 7:00 to put food on the table. Against your better wishes you find your hand reaching for that box of mac and cheese and abandon healthy meal prep. Looking for a weeknight game changer? Here’s how to make your freezer your new best friend in the kitchen.
Plan for leftovers
One of the best ways to make an easy but healthy weeknight meal is by doubling the recipe. This works great on the weekend when you are less strapped for time. Simply double an entire recipe, cook it and then freeze leftovers for a future meal. Note that some food lends itself to freezing and reheating better than others. For example, grains, casseroles, soups, chilis, and stews all stand up to the freezer well, keep for two to three months.
Ingredient prep
Prepare ingredients up to a certain stage and freeze them so you can grab them and start cooking some your favorite meals. For example, if you are ricing cauliflower, make an extra batch that you can freeze and whip out on a weeknight for a delicious base to a stir-fry. Another great freezer staple is grilled chicken breasts, which can be used for salads, tacos, or for a kid pleaser, served on a whole-wheat bun as a slider.
Batch it
More of a science than simply going double down, batch cooking is the ultimate in meal planning. You need to plan, shop, prep and cook—consider spreading the work out over a couple of days. The benefits are incentivizing: Save money, waste less food and spending more time in the evenings with your family. If you batch the building blocks of meals rather than a completed recipe—think grains, roasted vegetables, beans, or tofu, chicken and meat—it’s smart to cook them “naked” or as simple as possible (i.e. no dressing, no oil, no sauces, limited seasonings, etc.). That way when mealtime rolls around, you simply reheat and add the zesty dab of freshness with your seasonings, fresh herbs, and dressings.
Nuts and Bolts
Have an array of foil baking pans, zip lock bags, Tupperware or mason jars at the ready for freezing foods. Think outside the Pyrex: Muffin pans, for example, are great for freezing individual portions. Ladle your food into the sections—works surprisingly well for soups—and after they are frozen you can pop them out of the pans and bag them in a zipper-lock bag.
When freezing in glass containers, make sure give yourself what’s called “headspace”: a little room (generally half an inch to an inch) between the contents and the lid for expansion. (Glass that’s filled all the way to the top can often crack.) Finally, label all your freezer items with a Sharpie noting the date and what’s inside (things often become unrecognizable when frozen).
Enjoy the freedom from the kitchen that freezing your own food brings. Experiment with recipes and techniques and hone the strategies that serves you and your family’s needs best. Enlist your children to help: families that prep together, eat together.

